基于CXF的WebService(2、与spring整合)
admin 发布于:2012-05-25 15:11:00
阅读:loading
先废话一点,我知道的,会的,实在是简单,那么就简单的写一写吧。不用截图了:
之前的日志说了,安装cxf环境,基于Jetty方式来发布一个Web Service,本次主要实现一下CXF整合spring。
1、将CXF整合spring的相关jar包,拷贝至lib目录下面。
2、配置CXF的Servlet,跟使用dwr配置/dwr/*一样,详细的不再说了。
<servlet>
<servlet-name>CXFServlet</servlet-name>
<servlet-class>org.apache.cxf.transport.servlet.CXFServlet</servlet-class>
<load-on-startup>1</load-on-startup>
</servlet>
<servlet-mapping>
<servlet-name>CXFServlet</servlet-name>
<url-pattern>/services/*</url-pattern>
</servlet-mapping>
当然,配置完成之后,也可以运行http://localhost:8080/WebApp/services/
路径试试,看看。
3、配置spring支持
<context-param>
<param-name>contextConfigLocation</param-name>
<param-value>/WEB-INF/classes/applicationContext.xml</param-value>
</context-param>
<listener>
<listener-class>org.springframework.web.context.ContextLoaderListener</listener-class>
</listener>
不再赘述
4、applicationContext.xml里面内容为:
<?xml version="1.0" encoding="UTF-8"?>
<beans xmlns="http://www.springframework.org/schema/beans"
xmlns:xsi="http://www.w3.org/2001/XMLSchema-instance"
xmlns:jaxws="http://cxf.apache.org/jaxws"
xmlns:aop="http://www.springframework.org/schema/aop"
xsi:schemaLocation="http://www.springframework.org/schema/beans
http://www.springframework.org/schema/beans/spring-beans-3.0.xsd
http://cxf.apache.org/jaxws http://cxf.apache.org/schemas/jaxws.xsd">
<import resource="classpath:META-INF/cxf/cxf.xml" />
<import resource="classpath:META-INF/cxf/cxf-extension-soap.xml" />
<import resource="classpath:META-INF/cxf/cxf-servlet.xml" />
<bean id="hello" class="com.hello.HelloImpl" />
<jaxws:endpoint id="helloWorld" implementor="#hello"
address="/helloService" />
</beans>
说明:使用cxf2.5版本(截止到现在最新为2.6版本),里面使用的是spring3.0的jar,所以上面的xsi什么的指向的是sping3.0的tld文件。
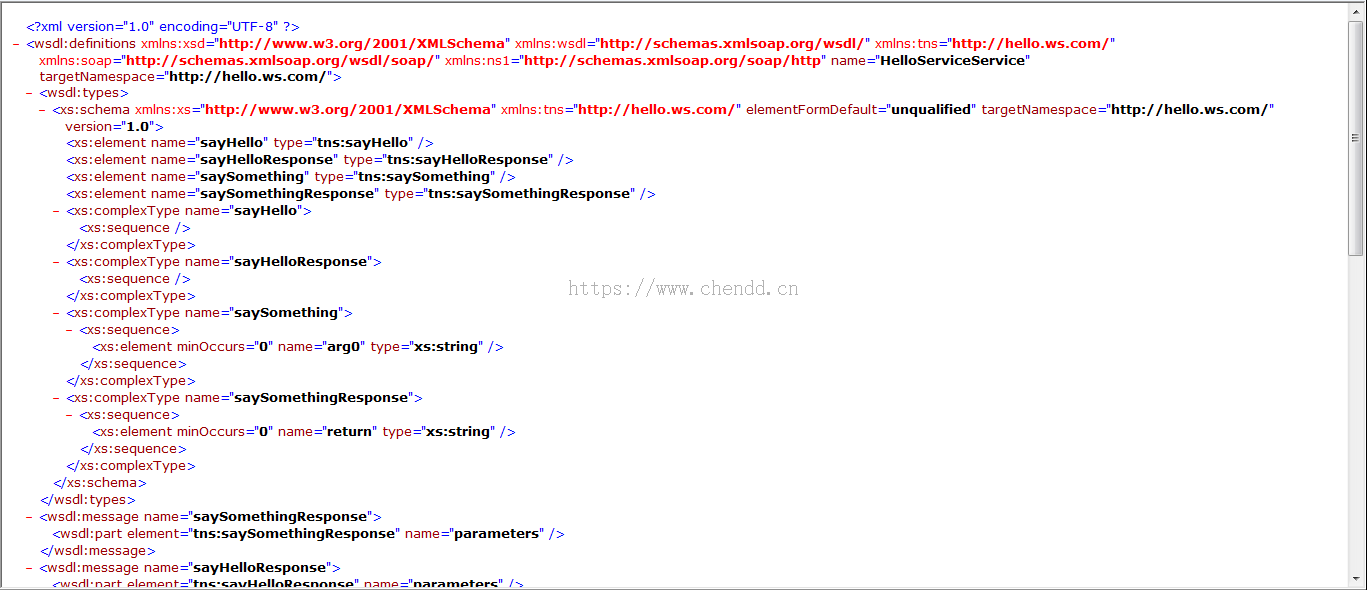
<bean>标签,id和class不用说,它是webservice的接口实现类,待会儿贴出来详细代码,关键是<jaxws:endpoint>标签,如果看了第一篇日志的话,应该能找到endpoing类,之前使用它publish过一个server虚拟的地址,id唯一性,implemenentor=不用说了,一看就知道,address则为publish的地址,加上之前的cxf的servlet地址,则访问该hello接口的wsdl路径为:http://localhost:8080/WebApp/services/helloService?wsld,也可以直接访问http://localhost:8080/WebApp/services/这个地址,它会把系统中所有的webservice地址给列出来,点击链接进入即可看到一大堆的wsdl的xml神马乱七八糟的。
add 2013-1-22
添加两个图,根据上面的cxfServlet的配置,请求改地址出现的效果图分别为:

系统所有的WS服务

5、hello接口地址和实现
-----------------------------------------------------------接口类
import javax.jws.WebService;
@WebService
public interface IHello {
public void sayHello();
}
------------------------------------------------------------实现类
import javax.jws.WebService;
@WebService(endpointInterface = "com.hello.IHello")
public class HelloImpl implements IHello {
@Override
public void sayHello() {
System.out.println("hello");
}
}
6、接下来就是根据这个wsdl地址去生成客户端调用代码,就不再赘述了。
­遇到过的问题:
1、一个webservice接口中有方法重载,或者说方法名字一样的函数,这时候会出现问题?
2、一直在http协议下运行的可以,忽然换成https协议,出现的问题?
这问题怎么解决,就不说了,想知道再单独说。
附:
http://www.webxml.com.cn/WebServices/ExchangeRateWebService.asmx?wsdl
以上地址为腾讯检测qq是否在线的webservice,可以通过本次知识去实现,客户端实现代码没说,其实跟上一讲调用方式一致,
http://www.webxml.com.cn/WebServices/ExchangeRateWebService.asmx (把上面的?wsdl)地址去掉,则为该接口的描述:
获得腾讯QQ在线状态
输入参数:QQ号码 String,默认QQ号码:8698053。返回数据:String,Y = 在线;N = 离线;E = QQ号码错误;A = 商业用户验证失败;V = 免费用户超过数量
点赞


 欢迎来到陈冬冬的学习天地 | 学习与经验整理分享平台
