Redis实践(6)SpringBoot Data Redis Cluster架构集成
Redisadmin 发布于:2023-05-28 19:57:36
阅读:loading
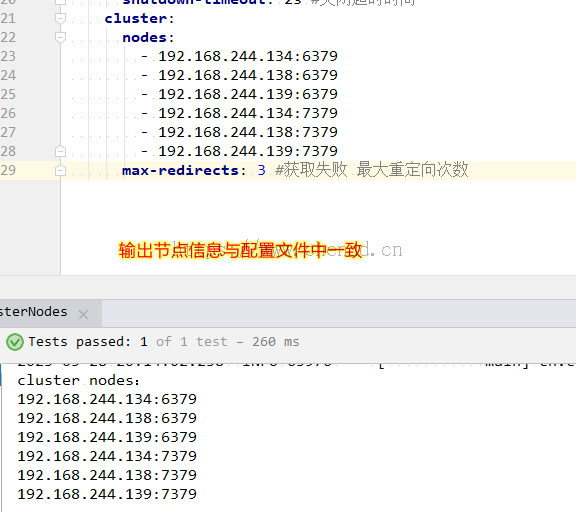
前文中使用3台服务器的6个Redis节点来搭建了一套Cluster模式的集群架构,本篇主要来使用SpringBoot Data Redis项目环境来项目集成它,还是那句话只有以SpringBoot项目环境集成后的东西才是雷打不动应该追而求之的,详见下文。
与前文中的SpringBoot Data Redis项目集成主从架构的Redis一致,maven坐标完全一致,此处就不再贴出了。
server:
  port: 8080
  servlet:
    context-path: /

spring:
  redis:
    database: 1
    password: chendd
    connect-timeout: 5s #连接超时时间
    timeout: 5s #读取超时时间
    lettuce:
      pool:
        enabled: true
        max-active: 16   #最大连接数据库连接数,设 -1 为没有限制
        max-idle: 16     #最大等待连接中的数量,设 0 为没有限制
        max-wait: 10s  #最大建立连接等待时间。如果超过此时间将接到异常。设为-1表示无限制。
        min-idle: 0     #最小等待连接中的数量,设 0 为没有限制
        time-between-eviction-runs: 10s #空闲连接回收时间
      shutdown-timeout: 2s #关闭超时时间
    cluster:
      nodes:
        - 192.168.244.134:6379
        - 192.168.244.138:6379
        - 192.168.244.139:6379
        - 192.168.244.134:7379
        - 192.168.244.138:7379
        - 192.168.244.139:7379
max-redirects: 3 #获取失败 最大重定向次数/**
* Redis 配置类(可要可不要,不要也有默认的组件)
*
* @author chendd
* @date 2023/5/21 22:22
*/
@Configuration
public class RedisConfiguration {
@Bean
public StringRedisTemplate stringRedisTemplate(@Autowired RedisConnectionFactory factory) {
StringRedisTemplate stringRedisTemplate = new StringRedisTemplate();
stringRedisTemplate.setConnectionFactory(factory);
return stringRedisTemplate;
}
@Bean
public RedisTemplate<String, Object> redisTemplate(@Autowired RedisConnectionFactory factory) {
GenericFastJsonRedisSerializer fastjson = new GenericFastJsonRedisSerializer();
RedisTemplate<String, Object> template = new RedisTemplate<>();
template.setKeySerializer(new StringRedisSerializer());
template.setHashKeySerializer(new StringRedisSerializer());
template.setConnectionFactory(factory);
template.setValueSerializer(fastjson);
template.setHashValueSerializer(fastjson);
template.afterPropertiesSet();
return template;
}
}(1)测试获取集群节点,代码如下:
@Resource
private RedisTemplate redisTemplate;
@Resource
private StringRedisTemplate stringRedisTemplate;

@Test
public void contextClusterNodes() {
    LettuceConnectionFactory factory = (LettuceConnectionFactory) this.redisTemplate.getConnectionFactory();
    assert factory != null;
    System.out.println("cluster nodes:");
    Set<RedisNode> clusterNodes = factory.getClusterConfiguration().getClusterNodes();
    for (RedisNode node : clusterNodes) {
        System.out.println(node.asString());
    }
}
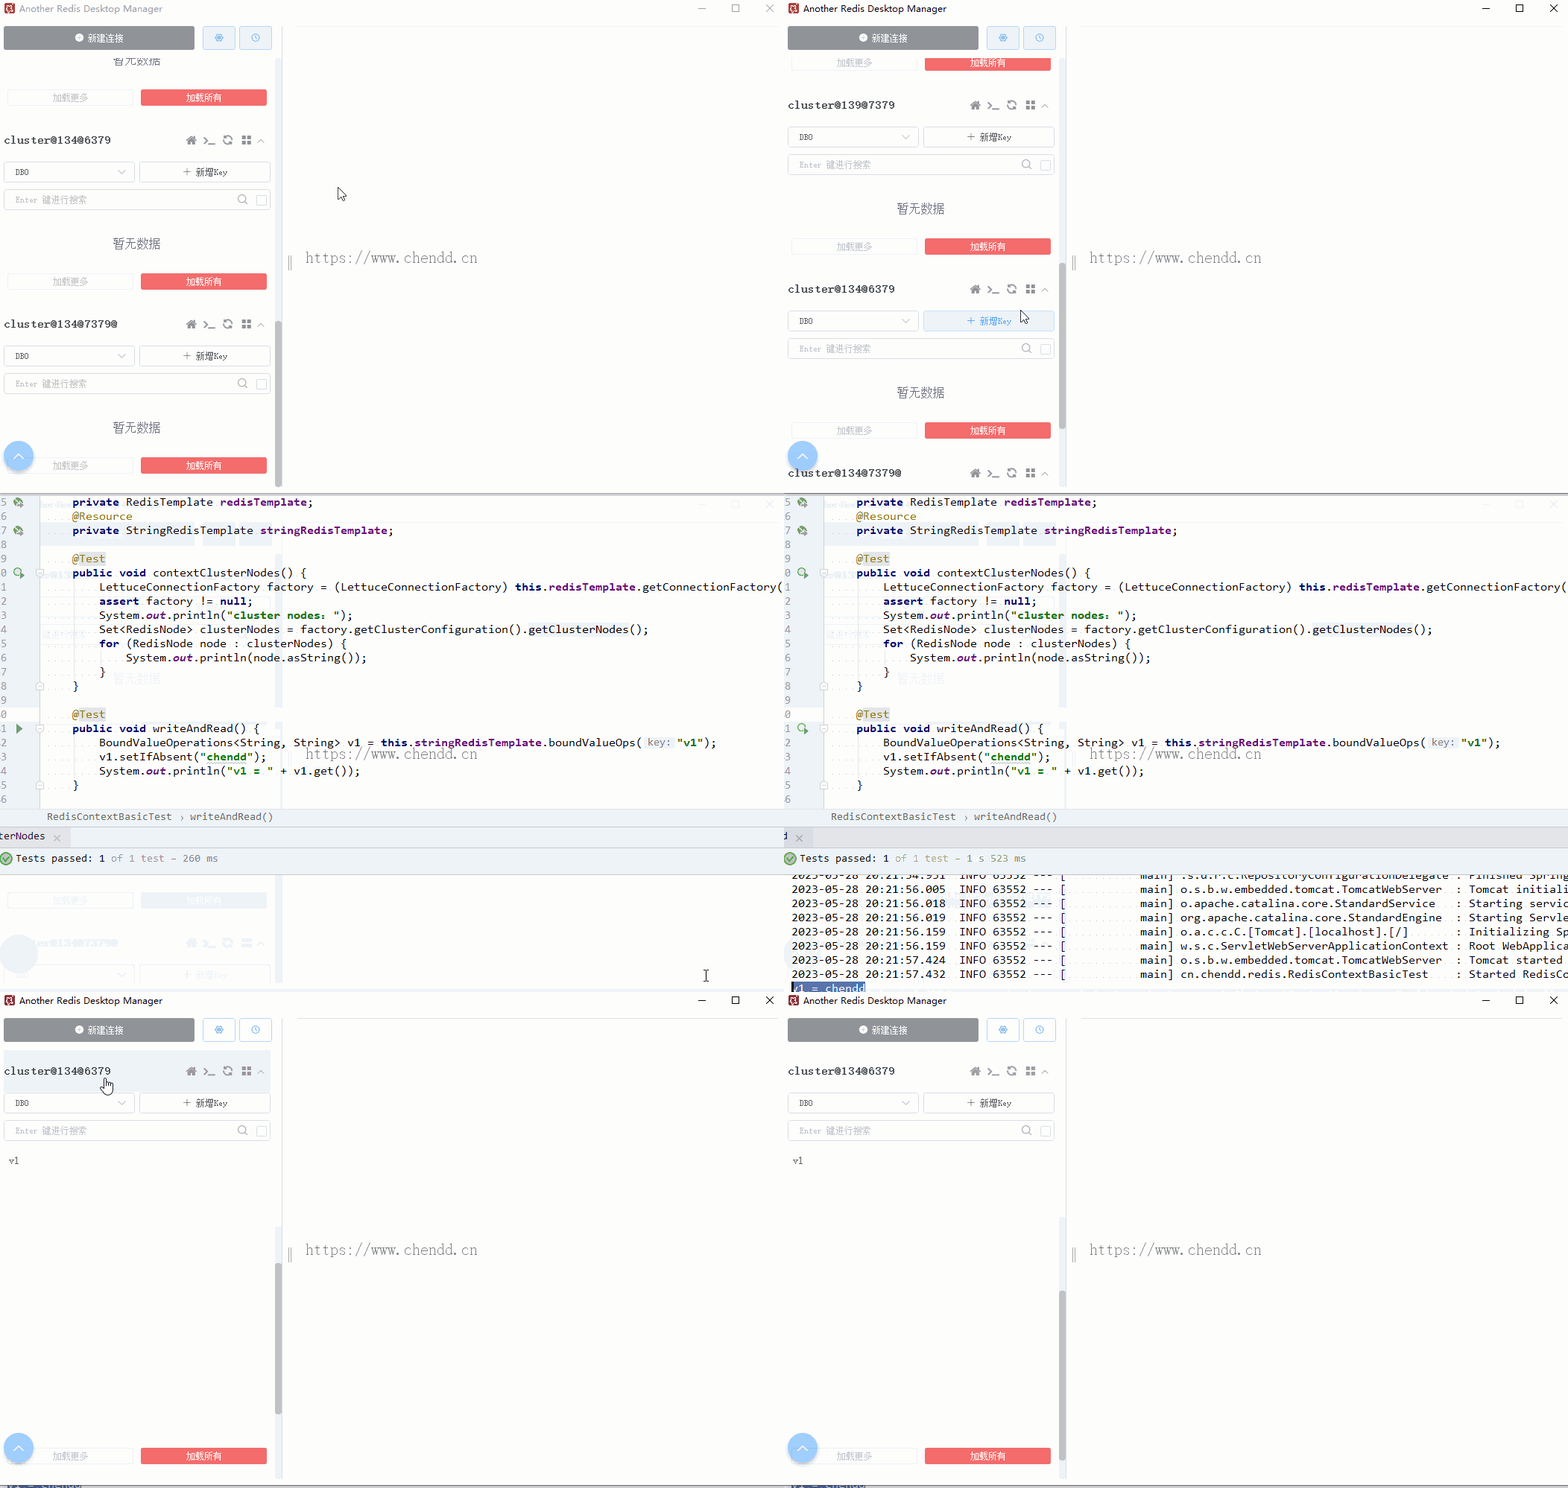
(2)数据写和读,先查看各个集群并不包含数据,当执行代码后再刷新各个节点发现数据均已经被写入并同步了,代码如下:
@Test
public void writeAndRead() {
    BoundValueOperations<String, String> v1 = this.stringRedisTemplate.boundValueOps("v1");
    v1.setIfAbsent("chendd");
    System.out.println("v1 = " + v1.get());
}
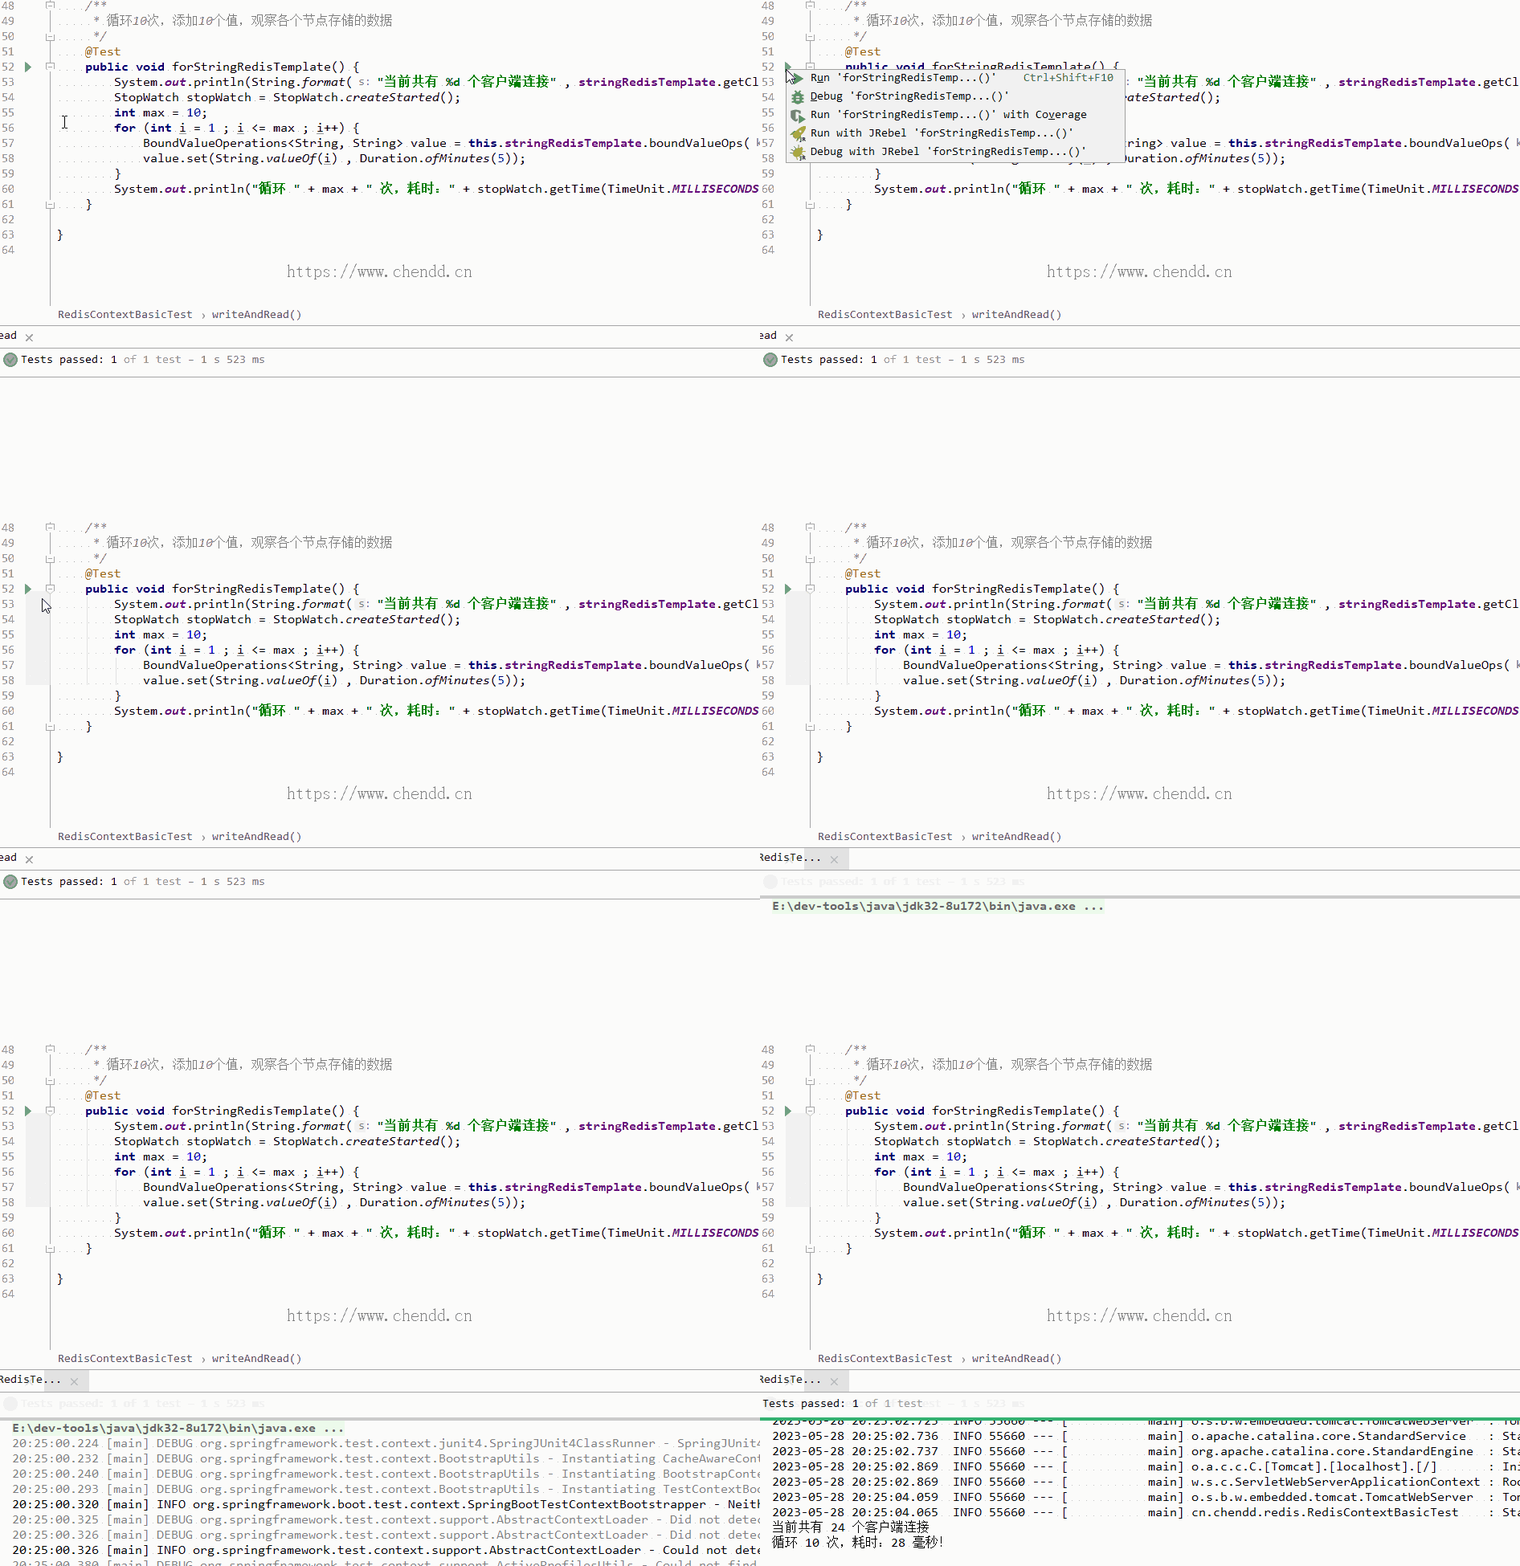
(3)多节点写入数据,代码如下:
@Test
public void forStringRedisTemplate() {
    System.out.println(String.format("当前共有 %d 个客户端连接" , stringRedisTemplate.getClientList().size()));
    StopWatch stopWatch = StopWatch.createStarted();
    int max = 10;
    for (int i = 1 ; i <= max ; i++) {
        BoundValueOperations<String, String> value = this.stringRedisTemplate.boundValueOps("chendd-" + i);
        value.set(String.valueOf(i) , Duration.ofMinutes(5));
    }
    System.out.println("循环 " + max + " 次,耗时:" + stopWatch.getTime(TimeUnit.MILLISECONDS) + " 毫秒!");
}
使用“bin/redis-cli -a chendd -c info clients”命令可查看redis的客户端连接数,在无程序对接时使用终端命令行可看到“connected_clients:7,cluster_connections:10”,上述图片获取到的为24个。
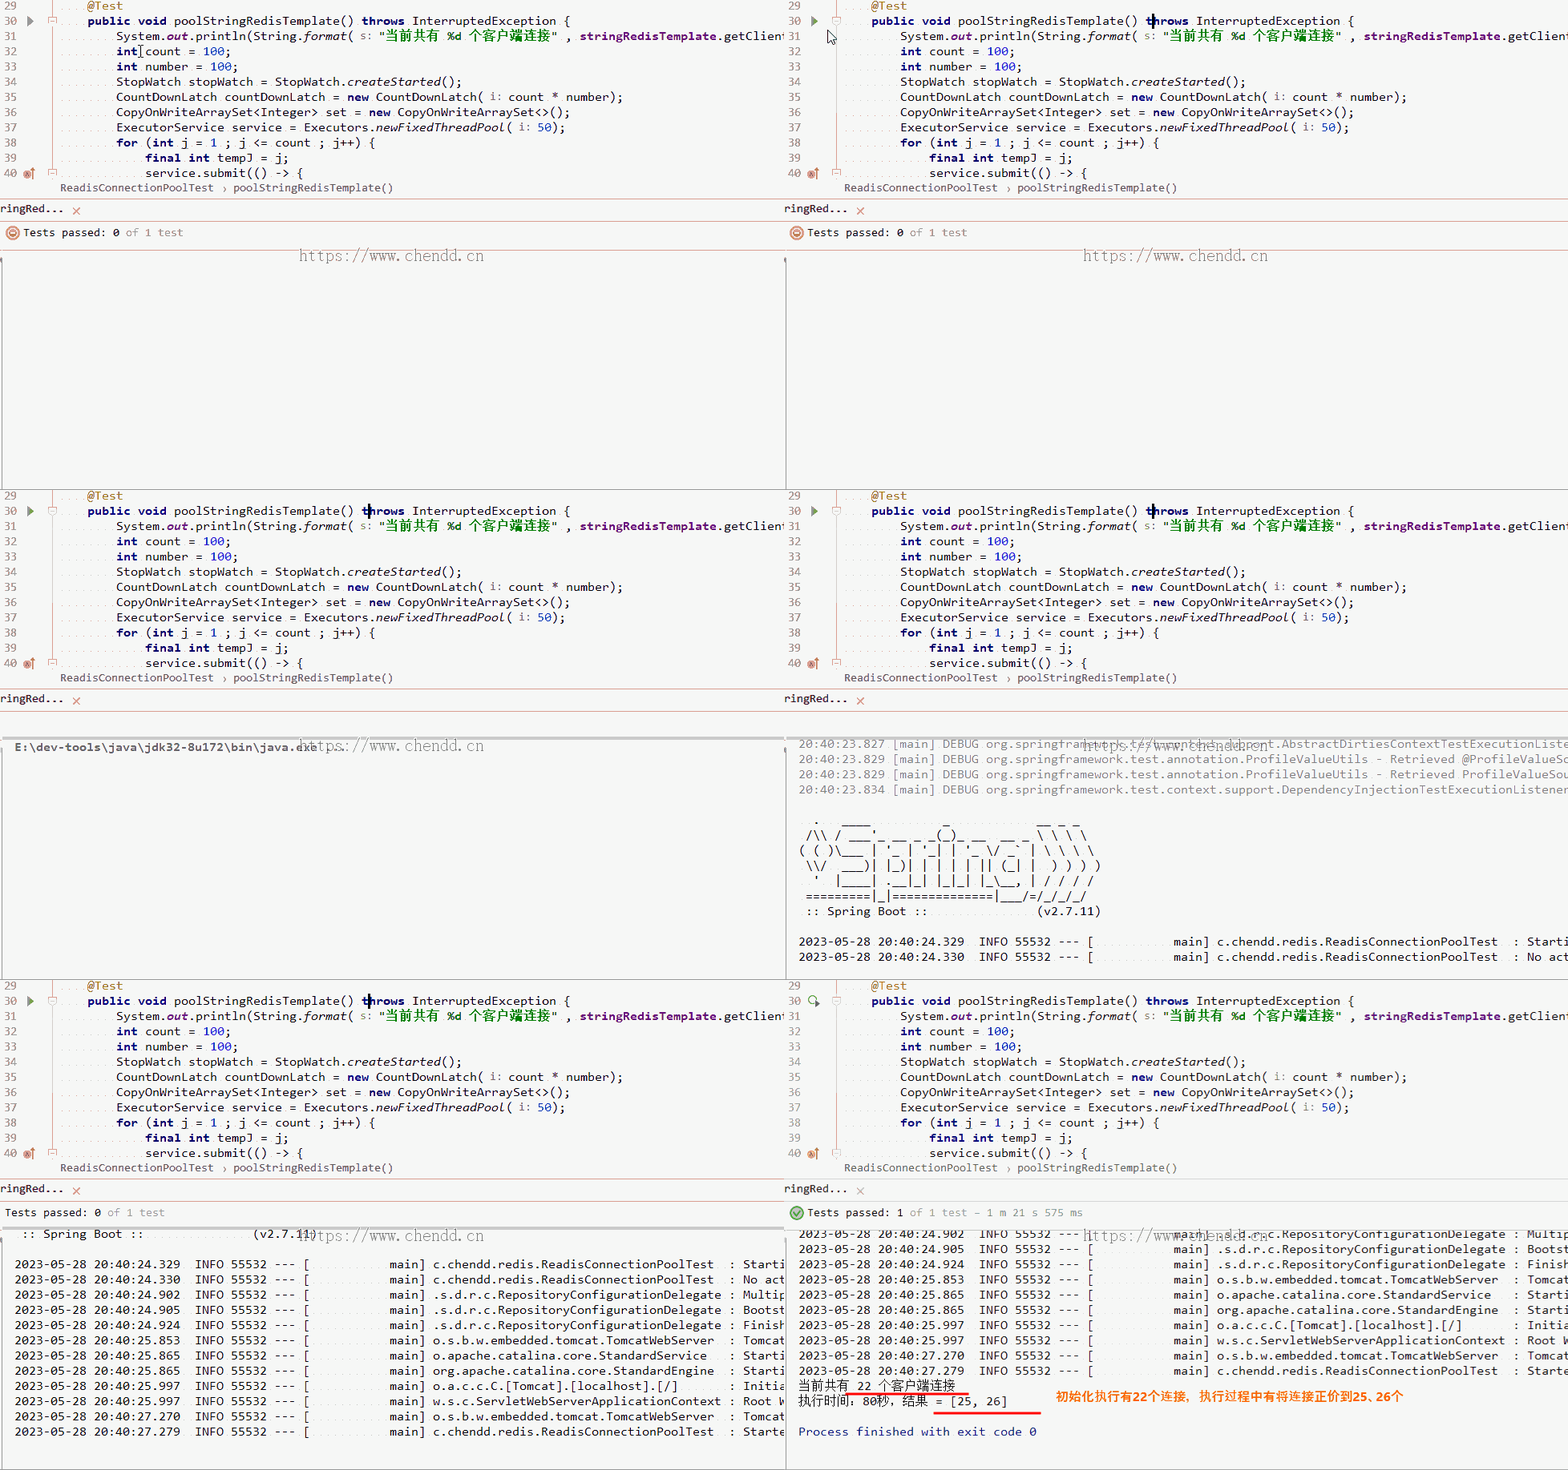
(4)测试Redis连接池测试,代码如下:
/**
 * 累计循环10000个线程,观察getClientList的参数值
 */
@Test
public void poolStringRedisTemplate() throws InterruptedException {
    System.out.println(String.format("当前共有 %d 个客户端连接" , stringRedisTemplate.getClientList().size()));
    int count = 100;
    int number = 100;
    StopWatch stopWatch = StopWatch.createStarted();
    CountDownLatch countDownLatch = new CountDownLatch(count * number);
    CopyOnWriteArraySet<Integer> set = new CopyOnWriteArraySet<>();
    ExecutorService service = Executors.newFixedThreadPool(50);
    for (int j = 1 ; j <= count ; j++) {
        final int tempJ = j;
        service.submit(() -> {
            for (int i = 1; i <= number; i++) {
                BoundValueOperations<String, String> value = stringRedisTemplate.boundValueOps("chendd-" + tempJ + "-" + i);
                value.set(tempJ + "-" + i , Duration.ofMinutes(5));
                set.add(stringRedisTemplate.getClientList().size());
                countDownLatch.countDown();
            }
        });
    }
    countDownLatch.await();
    System.out.println("执行时间:" + stopWatch.getTime(TimeUnit.SECONDS) + ",结果 = " + StringUtils.join(set));
}
点赞


发表评论
当前回复:作者
评论列表
留言区
- Redis实践(1)简单介绍与安装
- Redis实践(2)客户端介绍
- Redis实践(3)主从复制高可用架构
- Redis实践(4)SpringBoot Data Redis 主从架构集成
- Redis实践(4.1)SpringBoot 测试主从RedisTemplate
- Redis实践(4.2)SpringBoot 测试主从连接池
- Redis实践(4.3)SpringBoot 读模式的负载均衡
- Redis实践(4.4)SpringBoot 测试主从读写分离
- Redis实践(4.5)SpringBoot 测试主从数据类型读写
- Redis实践(4.6)SpringBoot 测试主从数据序列化
- Redis实践(5)Cluster模式高可用架构
- Redis实践(7)Redisson 简单介绍
- Redis实践(8)Redisson 简单实践


 欢迎来到陈冬冬的学习天地 | 学习与经验整理分享平台
